Can I Make A Living As A Photographer?
When it comes to pursuing a career in photography, there are a few different routes you can take. One option is to start working as a freelance photographer on the side, building up your portfolio and client base until it becomes your full-time job. Another option is to get a degree in photography and start working for a company right out of college. Both routes have their own set of pros and cons, and the best choice for you will depend on your individual goals and circumstances.
If you're considering working as a freelance photographer on the side, there are a few things to keep in mind. One of the biggest advantages of this route is that you have complete control over your schedule and can work on your own terms. You can also be your own boss and set your own rates, which can be a huge advantage if you're someone who is motivated by autonomy and creativity. Additionally, starting out as a freelance photographer will give you the opportunity to build up a diverse portfolio and gain experience working with a variety of clients.
On the other hand, working as a freelance photographer can also be challenging. You'll need to be self-motivated and disciplined, as there's no one there to hold you accountable for meeting deadlines or completing assignments. Additionally, it can be difficult to make a steady income as a freelance photographer, especially when you're just starting out. You'll need to be prepared to hustle and put in a lot of work to build up your client base.
If you're considering going to college to get a degree in photography, there are a few things to keep in mind as well. One of the biggest advantages of this route is that you'll get a solid education in photography and will be well-prepared for a career in the industry. You'll also have access to industry-standard equipment and facilities, which can be incredibly valuable when you're just starting out. Additionally, you'll have the opportunity to network with other photographers and make connections that can help you land your first job.
On the other hand, getting a degree in photography can be expensive and time-consuming. You'll need to be prepared to take on student debt and to spend several years in school before you're able to start working in the industry. Additionally, you may find that you're limited in terms of the types of photography you're able to do once you graduate, as many companies are looking for photographers with a specific set of skills or experience.
In terms of gear for beginner, a budget friendly and high end photography gear option that one can start with is a mirrorless camera like Sony A6400 or Fujifilm X-T4. Both are great options for those just starting out and offer advanced features like 4k video and high-resolution sensors. Additionally, A good lens is also important for capturing high-quality images. A 50mm f/1.8 lens is a great starter lens as it's affordable and versatile. Other accessories like a sturdy tripod and a good camera bag will help protect your gear and make it easy to transport.
In conclusion, both working as a freelance photographer on the side and getting a degree in photography can be viable routes to working in the photography industry. Each has its own set of advantages and disadvantages, and the best choice for you will depend on your individual goals and circumstances. However, with the right gear, motivation, and hard work, anyone can make a career in photography a reality.
Aperture
Aperture is one of the three main exposure settings on a camera, along with shutter speed and ISO. It refers to the size of the opening in the lens through which light enters the camera. The aperture is measured in f-stops, and the lower the f-stop number, the larger the aperture, and the more light that enters the camera. Conversely, the higher the f-stop number, the smaller the aperture, and the less light that enters the camera.
One of the main uses of aperture is to control the depth of field in an image. A shallow depth of field (a wide aperture such as f/1.8) will make the subject of the image stand out by blurring the background. This is useful when you want to emphasize the subject of the image, such as when photographing portraits or macro shots of small objects.
On the other hand, a deep depth of field (a narrow aperture such as f/22) will make the entire image appear sharp and in focus. This is useful when you want to capture a wide range of elements in focus, such as when photographing landscapes or architecture.
Another use of aperture is to control the amount of light that enters the camera. In low light conditions, a wide aperture (low f-stop number) can be used to increase the amount of light that reaches the sensor and prevent underexposure. In bright lighting conditions, a narrow aperture (high f-stop number) can be used to reduce the amount of light that reaches the sensor and prevent overexposure.
It's important to note that aperture also affects the sharpness and bokeh of the image. Aperture range from f/1.8 to f/4 will have a shallower depth of field and a softer bokeh, whereas aperture ranges from f/11 to f/22 will have a deeper depth of field and sharper bokeh.
In conclusion, aperture is an important camera setting that controls the size of the opening in the lens through which light enters the camera. It can be used to control the depth of field and the amount of light that enters the camera. Understanding how to use aperture effectively can help you to create more dynamic and visually interesting images. It's important to practice and experiment with different aperture settings to get a sense of how they can affect your images and find the right balance for the scene you're photographing.
Shutter speed
Shutter speed is one of the three main exposure settings on a camera, along with aperture and ISO. It refers to the amount of time that the camera's sensor is exposed to light when taking a photo. The longer the shutter is open, the more light is allowed to reach the sensor, and the brighter the resulting image will be. Conversely, the shorter the shutter is open, the less light is allowed to reach the sensor, and the darker the resulting image will be.
One of the main uses of shutter speed is to control the amount of motion blur in an image. A fast shutter speed (such as 1/1000 of a second) will freeze motion, making it appear as if the moving object is still. This can be useful when photographing fast-moving objects, such as sports or wildlife, to make sure that the image is sharp and clear.
On the other hand, a slow shutter speed (such as 1/30 of a second) will blur motion, making it appear as if the moving object is in motion. This can be useful when you want to convey a sense of movement or motion in an image, such as when photographing waterfalls or cars on a highway.
Another use of shutter speed is to control the amount of light that enters the camera. In bright lighting conditions, a fast shutter speed can be used to reduce the amount of light that reaches the sensor and prevent overexposure. In low light conditions, a slow shutter speed can be used to increase the amount of light that reaches the sensor and prevent underexposure.
It's important to note that when using slow shutter speeds, it's important to use a tripod or some other form of image stabilization, as even the slightest movement of the camera can cause blur in the final image. Also, the slower the shutter speed the more light will be captured, but also the more motion blur will be included in the image, as it will be capturing movement in the scene.
Using a slow shutter speed also has a creative effect on the image, such as creating light trails when photographing moving lights at night, or creating a dreamy effect when photographing waterfalls.
In conclusion, shutter speed is an important camera setting that controls the amount of time that the camera's sensor is exposed to light when taking a photo. It can be used to control the amount of motion blur in an image, convey a sense of movement, or control the amount of light that enters the camera. Understanding how to use shutter speed effectively can help you to create more dynamic and visually interesting images. It's important to practice and experiment with different shutter speeds to get a sense of how they can affect your images and find the right balance for the scene you're photographing.
ISO
ISO is a camera setting that controls the sensitivity of the camera's sensor to light. The higher the ISO setting, the more sensitive the sensor becomes, and the less light is required to produce a properly exposed image. The lower the ISO setting, the less sensitive the sensor becomes, and more light is required to produce a properly exposed image.
When you're taking photos, you want to use the lowest ISO possible to produce the best image quality. This is because using a high ISO setting can introduce noise, or grain, into the image, which can make the final image look less sharp and less detailed. However, there are situations where using a higher ISO is necessary, such as in low light situations.
One of the main benefits of using a low ISO setting is that it produces images with less noise. This is because the sensor is less sensitive to light, so it doesn't pick up as much noise from the environment. This is especially important when shooting in low light conditions, as noise can be more pronounced in darker environments.
On the other hand, using a high ISO setting can be beneficial in low light conditions. When there is not enough light to produce a properly exposed image, you can increase the ISO to make the sensor more sensitive to light. This allows you to take photos in darker environments without having to use a flash or a tripod.
It's important to note that increasing the ISO also increases the shutter speed, so the image will be less blurry if the subject is moving. This can be especially helpful when shooting sports, wildlife or events where the subjects are moving quickly.
In conclusion, ISO is an important camera setting that controls the sensitivity of the camera's sensor to light. The lower the ISO, the less sensitive the sensor becomes, and the less noise there will be in the final image. However, using a higher ISO can be necessary in low light conditions, allowing you to take photos without using a flash or a tripod. It's important to find the right balance between ISO, shutter speed and aperture to get the desired result.

Using Grid Lines For Proper Photo Composition
Using grid lines in photography composition is an important technique that can help you create more balanced and visually pleasing images. Grid lines are a set of horizontal and vertical lines that divide the frame of your camera into equal parts. By using these lines, you can create a sense of balance and symmetry in your photos, and make it easier to place your subject in the most visually appealing position.
One of the main benefits of using grid lines in photography is that it allows you to create a sense of balance in your images. The lines help you to evenly distribute elements in the scene, and create a sense of harmony in the composition. This is especially useful when photographing landscapes, cityscapes, or other types of images that have a lot of elements in the scene.
Another benefit of grid lines is that they help you to create a sense of symmetry in your images. By positioning your subject along one of the lines, you can create a feeling of balance and order in the image. This is useful when photographing architectural subjects, such as buildings or sculptures, as it helps to create a sense of structure and stability in the image.
Grid lines also help you to create a sense of depth in your images. By positioning elements along the lines, you can create a sense of perspective, and make the image appear more three-dimensional. This is useful when photographing landscapes, cityscapes, or other types of images where you want to create a sense of depth and distance.
Using grid lines in photography also helps you to apply the rule of thirds. The rule of thirds is a composition technique where you divide the frame into thirds horizontally and vertically, and place the main subject or point of interest at one of the intersections of these lines. This creates a sense of balance and tension in the image and makes it more visually appealing.
In conclusion, using grid lines in photography is an important technique that can help you create more balanced and visually pleasing images. It allows you to create a sense of balance and symmetry, add depth and perspective, and apply the rule of thirds. Many cameras and even phone cameras have the option to turn on grid lines on the viewfinder or live view, make use of it and it will help you to improve your photography skills and take better photos.

12 Steps On Turning Your passion For Photography Into Your Full Time Job
Starting a photography business on the side can be a great way to turn your passion for photography into a profitable venture. While it may seem daunting at first, with the right plan and approach, you can gradually build your business and eventually turn it into a full-time job. Here are some tips to help you get started:
Define your niche: One of the first things you should do when starting a photography business is to define your niche. What type of photography are you most passionate about? Are you interested in portrait photography, landscape photography, or event photography? Defining your niche will help you focus on a specific area of photography and make it easier to market your services.
Build your portfolio: A strong portfolio is essential for any photography business. Take the time to build a portfolio of your best work, and make sure it showcases your skills and style. You can use your portfolio to attract new clients and to showcase your work to potential customers.
Invest in equipment: Photography equipment can be expensive, but it's an essential investment for any photography business. Invest in a good camera, lenses, and other accessories that will help you take high-quality photos. Keep in mind that you don't have to buy the most expensive equipment, there are many good options that are affordable.
Create a website: A website is an essential tool for any photography business. It allows you to showcase your portfolio, list your services, and provide contact information for potential clients. Having a website will also make it easy for people to find your business when searching for a photographer online.
Network: Networking is an important part of any business, and photography is no exception. Attend local photography events, join photography groups, and connect with other photographers. Networking will help you build relationships, learn new skills, and attract new clients.
Develop a pricing strategy: Determine your pricing strategy and make sure it's competitive and fair. Research other photographers in your area and see what they charge for similar services. Don't be afraid to charge what you're worth, but keep in mind that starting out, it's important to be flexible and offer discounts or deals to attract clients.
Market your business: Marketing is essential for any business, and photography is no exception. Use social media, local classifieds, and other platforms to market your business. You can also create flyers, brochures, or business cards to promote your services.
Create a business plan: A business plan will help you set goals, identify your target market, and develop a strategy for growing your business. It will also help you identify the resources you need to make the transition from a side hustle to a full-time job.
Save money: As you start to make money from your photography business, make sure to save some of it for the transition. You'll need to invest in equipment, marketing, and other expenses as you grow your business.
Be prepared for the workload: Running a full-time photography business is demanding and requires a lot of hard work. Make sure you're prepared for the increased workload that comes with being a full-time photographer.
Hire help: As your business grows, you may need to hire help to handle the increased workload. This could include hiring an assistant, a virtual assistant, or a bookkeeper to help with tasks like editing, scheduling, and invoicing.
Keep learning: The photography industry is constantly evolving, so it's important to keep learning and stay up-to-date with new trends and techniques. Attend workshops, read photography blogs and magazines, and practice your skills to improve and stay ahead of the competition.
Starting a photography business on the side can be challenging, but with the right approach and determination, you can turn it into a full-time job. It's important to have a clear plan, invest in equipment, and market your business effectively. And don't be afraid to ask for help, whether it's hiring an assistant or seeking advice from other photographers. Remember, it takes time and effort to build a successful business, but with persistence and dedication, you can turn your passion for photography into a fulfilling and profitable career.

The Art of Macro Photography: Tips and Tricks
Macro photography is a fascinating and rewarding genre of photography that allows you to capture the beauty and details of the smallest subjects. Here are some tips and tricks for capturing stunning macro photos:
Use a tripod: A tripod is a must-have for macro photography as it allows you to take sharp photos without camera shake. This is especially important when using a slow shutter speed or a small aperture.
Use flash: Flash is a powerful tool for macro photography as it allows you to control the light on your subject. Use a ring flash or a twin flash to add light to the shadows and bring out the details in your subject.
Pay attention to the background: The background is an important element in macro photography. Look for interesting backgrounds such as a leaf or a flower, and use them to add depth and interest to your photos.
Experiment with different angles: One of the best ways to create unique and interesting macro photos is to experiment with different angles. Try shooting from a low angle or a high angle, or use a wide-angle lens to capture a large and expansive scene.
Use a macro lens: A macro lens is a must-have for macro photography as it allows you to focus on close-up subjects. Look for a lens with a high magnification ratio (1:1 or higher) to capture the maximum amount of detail.
A Beginner's Guide to Street Photography
Street photography is a challenging and rewarding genre of photography that allows you to capture the beauty and emotions of the people in the streets. Here are some tips for how to get started with street photography:
Be discreet: Street photography often involves photographing strangers, so it's important to be discreet and respectful. Use a small and unobtrusive camera, and be mindful of people's privacy and comfort.
Look for interesting subjects: The key to great street photography is finding interesting subjects. Look for people with unique clothing, expressions, or gestures, and try to capture the essence of their character in your photos.
Use a wide-angle lens: A wide-angle lens is a great tool for street photography as it allows you to capture a large and expansive scene. Use a wide-angle lens to include the environment in your photos and create a sense of place.
Experiment with different perspectives: One of the best ways to create unique and interesting street photos is to experiment with different perspectives. Try shooting from a low angle or a high angle, or use a telephoto lens to capture close-up details.
Get to know your camera: Street photography is all about capturing the moment, so it's important to know how to quickly and efficiently operate your camera. Familiarize yourself with the different settings and functions of your camera, and practice using them in different situations.

The Importance of Lighting in Portrait Photography
Use natural light: Natural light is one of the most beautiful and flattering types of light for portrait photography. Look for interesting light sources such as windows or open shade, and use them to create a soft and natural-looking light on your subject's face.
Use studio lighting: Studio lighting is a versatile and powerful tool for portrait photography. Use strobes or continuous lights to control the light on your subject's face, and experiment with different lighting setups to create different moods and atmospheres.
Use reflectors: Reflectors are a simple and affordable way to control the light on your subject's face. Use a white or silver reflector to add light to the shadows, or a gold or warm reflector to add warmth to the light.
Pay attention to the background: The background is an important element in portrait photography. Look for interesting backgrounds such as a brick wall or a beautiful landscape, and use them to add depth and interest to your photos.
Experiment with different angles: One of the best ways to create unique and interesting portrait photos is to experiment with different angles. Try shooting from a low angle or a high angle, or use a wide-angle lens to capture a large and expansive scene.

5 Tips for Capturing Stunning Landscape Photography
Landscape photography is a beautiful and challenging genre of photography that allows you to capture the natural beauty of the world around us. Whether you're a beginner or an experienced photographer, here are five tips that will help you take your landscape photography to the next level:
Find the right composition: One of the most important aspects of landscape photography is finding the right composition. Look for interesting elements in the scene such as mountains, trees, or bodies of water, and use them to create a balanced and visually pleasing composition.
Use the right camera settings: To capture stunning landscape photos, you need to use the right camera settings. Aperture priority mode is a great option for landscape photography as it allows you to control the depth of field. Use a small aperture (f/16 or smaller) for a large depth of field and a large aperture (f/5.6 or larger) for a shallow depth of field.
Use a tripod: A tripod is a must-have for landscape photography as it allows you to take sharp photos without camera shake. This is especially important when using a slow shutter speed or a small aperture.
Pay attention to the light: The light is one of the most important elements in landscape photography. Look for interesting lighting such as sunrise or sunset, and use it to create a dramatic and moody atmosphere in your photos.
Experiment with different angles: One of the best ways to create unique and interesting landscape photos is to experiment with different angles. Try shooting from a low angle or a high angle, or use a wide-angle lens to capture a large and expansive scene
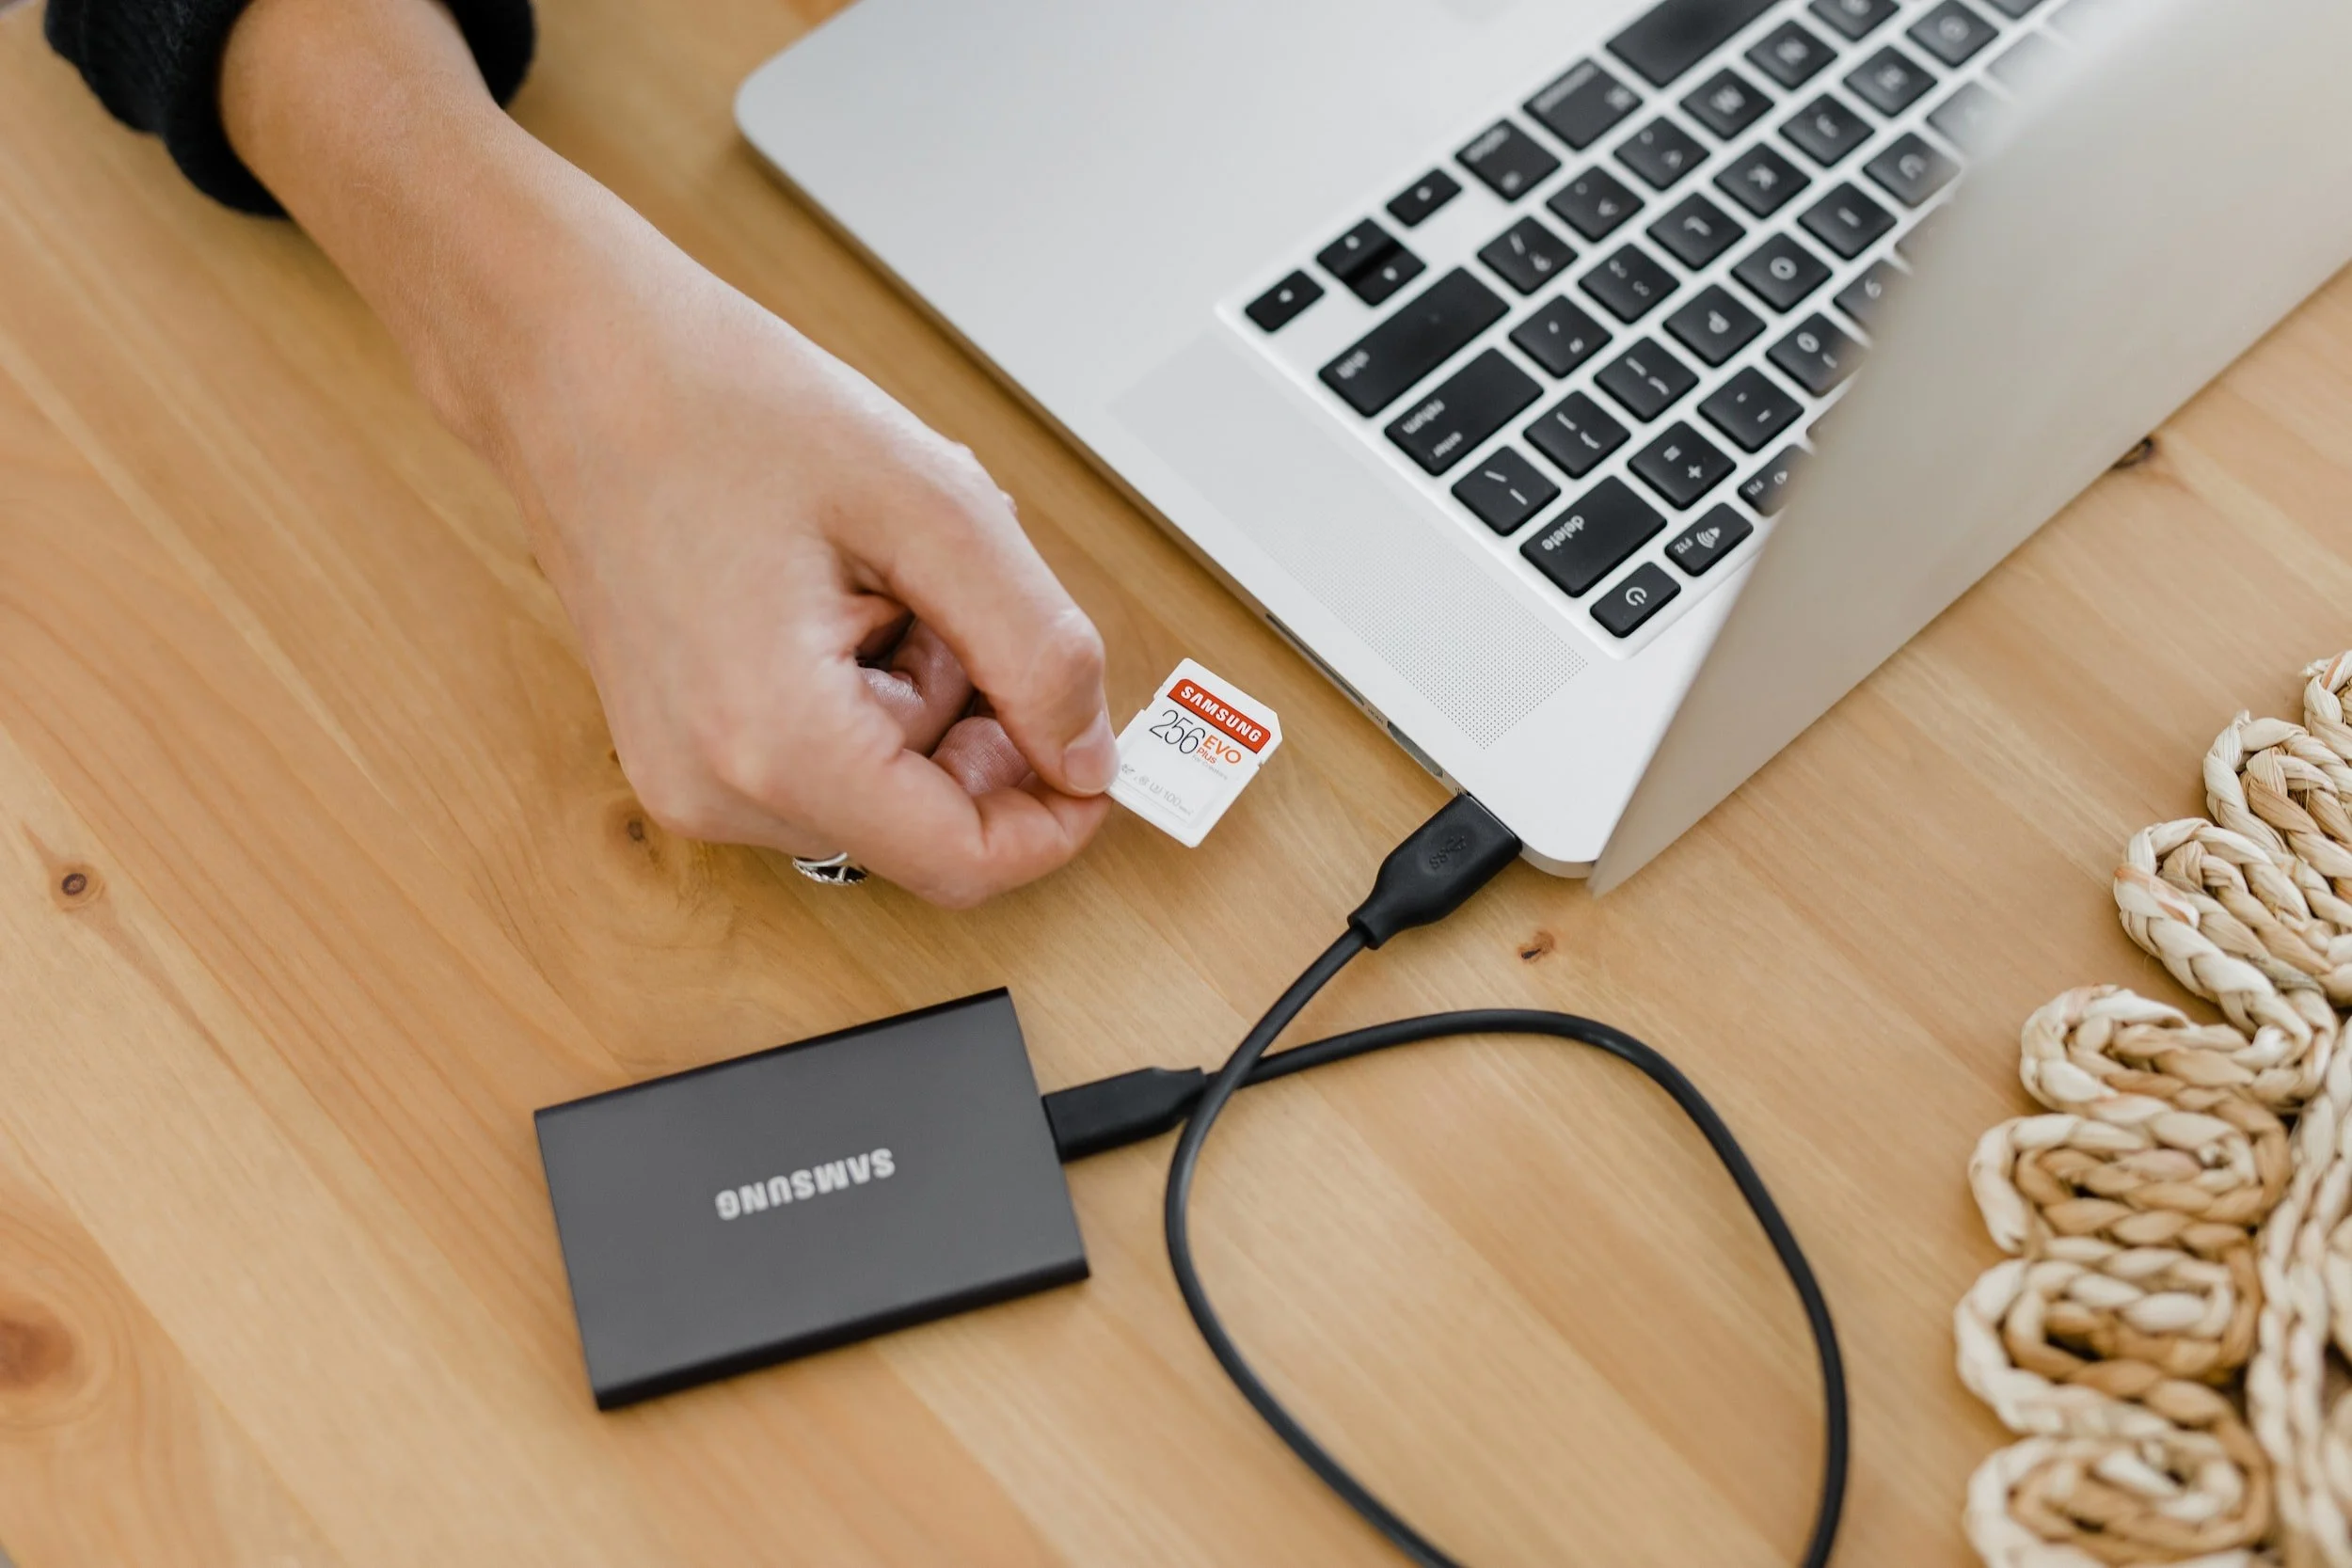
What type of SD card Should I use for Full HD Video
When capturing images and video, the quality of the SD card you use can have a big impact on the final result. High-quality SD cards are essential for ensuring that your photos and videos are captured in the best possible quality and that they can be stored and shared easily.
One of the most important factors to consider when choosing an SD card is its speed. The speed of an SD card refers to how quickly it can read and write data. When capturing images and video, a fast SD card is essential to ensure that the camera can write the data quickly and efficiently. This can be especially important when capturing high-resolution images and video, as the camera will need to write more data to the SD card.
Another important factor to consider is the storage capacity of the SD card. The storage capacity of an SD card refers to how much data it can hold. When capturing images and video, a high storage capacity is essential to ensure that you can capture as many images and videos as you need without running out of space.
Additionally, the durability of the SD card should also be considered. SD cards are small, and easy to lose, drop or damage. A card with a good durability will ensure that you can use it for a longer time, and also protect your data.
Another important factor to consider when choosing an SD card is the class rating. SD cards are rated based on their minimum write speed, with Class 2, 4, 6, and 10 being the most common. A Class 10 SD card is the fastest and most reliable, with a minimum write speed of 10 MB/s. This makes it ideal for capturing high-resolution images and video.
Finally, it's important to consider the compatibility of the SD card with your camera, some cameras may only be compatible with specific types of SD cards. It's important to check the compatibility of the SD card with your camera before purchasing.
In conclusion, the quality of the SD card you use when capturing images and video is of paramount importance. A high-quality SD card should have a fast speed, high storage capacity, good durability, and be compatible with your camera. Choosing a SD card with a Class 10 rating is the best option for capturing high-resolution images and video. Make sure to always invest in a good quality SD card to ensure that your images and videos are captured in the best possible quality, and can be stored and shared easily.

Canon M50 VS: Canon M2
The Canon EOS M50 and the Canon EOS M2 are both mirrorless cameras that are part of Canon's EOS M series. Both cameras are aimed at amateur and enthusiast photographers who want a compact and versatile camera that can capture high-quality images and videos. However, there are some key differences between these two cameras that are worth noting.
First, the most obvious difference between the Canon EOS M50 and the Canon EOS M2 is their age. The EOS M50 was announced in February 2018, while the EOS M2 was announced in December 2013. This means that the EOS M50 is a more recent camera and therefore, it benefits from the advancements in technology that have occurred in the past several years.
One of the main differences between the Canon EOS M50 and the Canon EOS M2 is the sensor. The EOS M50 has a 24.1-megapixel APS-C CMOS sensor, while the EOS M2 has a 18.0-megapixel APS-C CMOS sensor. The EOS M50's sensor provides higher resolution and better image quality than the EOS M2.
Another significant difference between the two cameras is their autofocus system. The EOS M50 features Dual Pixel CMOS AF, which is a fast and accurate autofocus system that can track moving subjects with ease. The EOS M2, on the other hand, has a contrast-detection autofocus system, which is less advanced and may struggle to focus on fast-moving subjects.
The EOS M50 also has a fully articulating LCD touchscreen that can be used for easy video composition and vlogging, while the EOS M2 has a fixed LCD screen. The EOS M50 also has the ability to shoot 4K video at 24fps, while the EOS M2 can only shoot 1080p video.
The EOS M50 also has a built-in electronic viewfinder (EVF) that allows you to preview your shots with greater accuracy and details. The EOS M2 does not have this feature. The EOS M50 also has built-in WiFi and Bluetooth connectivity, which allows you to share your images and videos with ease and remotely control the camera from your smartphone or tablet. The EOS M2 does not have these features.
In conclusion, while both the Canon EOS M50 and the Canon EOS M2 are compact and versatile mirrorless cameras, the EOS M50 is a more recent camera with a higher resolution sensor, faster autofocus system, 4K video capabilities, and a fully articulating touchscreen LCD. It also has built-in WiFi and Bluetooth connectivity and an electronic viewfinder. All these features make the EOS M50 a more advanced and powerful camera than the EOS M2.

Canon M50 Mark ii
The Canon EOS M50 Mark II is a mirrorless camera that is part of Canon's EOS M series. It was announced in October 2020 as an update to the popular EOS M50 model. The camera is aimed at amateur and enthusiast photographers who want a compact and versatile camera that can capture high-quality images and videos.
One of the key features of the Canon EOS M50 Mark II is its 24.1-megapixel APS-C CMOS sensor. This sensor allows the camera to capture high-resolution images with a wide dynamic range and accurate colors. The camera also features Dual Pixel CMOS AF, which is a fast and accurate autofocus system that can track moving subjects with ease.
Another notable feature of the Canon EOS M50 Mark II is its ability to shoot 4K video. The camera can shoot 4K videos at 24fps or 1080p videos at up to 120fps, allowing for smooth slow-motion footage. The camera also features a fully articulating LCD touchscreen that can be used for easy video composition and vlogging.
The Canon EOS M50 Mark II also has a built-in electronic viewfinder (EVF) that allows you to preview your shots with greater accuracy and details. It also features a built-in flash and a hot shoe for external flash or other accessories. The camera also supports WiFi and Bluetooth connectivity, which allows you to share your images and videos with ease and remotely control the camera from your smartphone or tablet.
One of the new features of the Canon EOS M50 Mark II is its improved battery life, the camera can shoot up to 305 shots on a single charge. Additionally, it comes with the new DIGIC 8 image processor that allows for faster image processing and improved image quality. The camera also features a new Vari-angle touchscreen LCD which makes it more versatile and convenient to use.
In conclusion, the Canon EOS M50 Mark II is a great option for amateur and enthusiast photographers who want a compact and versatile camera that can capture high-quality images and videos. It offers a high-resolution sensor, fast autofocus, 4K video capabilities, and a fully articulating touchscreen LCD, making it a great option for both stills and video. With its improved battery life, new DIGIC 8 image processor, and Vari-angle touchscreen LCD, it's an excellent upgrade from the previous model.

APS-C CMOS mirrorless cameras VS: Full Frame Cameras
Mirrorless cameras are a newer type of camera that have been gaining popularity in recent years. One of the key features of mirrorless cameras is that they use a different type of sensor than traditional DSLR cameras - an APS-C crop sensor. In this article, we will discuss the benefits and drawbacks of using a mirrorless camera with an APS-C crop sensor, and how it compares to full-frame sensors.
Benefits of APS-C Crop Sensors:
Smaller and lighter: APS-C sensors are physically smaller than full-frame sensors, which allows for smaller and lighter camera bodies. This makes them more portable and easier to carry around.
Lower cost: Because APS-C sensors are smaller and less complex than full-frame sensors, they are generally less expensive to produce. This means that mirrorless cameras with APS-C sensors tend to be more affordable than their full-frame counterparts.
Greater depth of field: APS-C sensors have a smaller surface area than full-frame sensors, which means that the lens has to project a smaller image onto the sensor. This results in a greater depth of field, which can be useful for landscape and other types of photography where you want to keep more of the image in focus.
Drawbacks of APS-C Crop Sensors:
Reduced low-light performance: Because APS-C sensors are smaller than full-frame sensors, they have fewer pixels, which means that they can't collect as much light. This can result in lower image quality in low-light conditions.
Reduced image quality: APS-C sensors have fewer pixels than full-frame sensors, which can result in lower image resolution and less detail in the final image.
Reduced dynamic range: APS-C sensors have a smaller surface area than full-frame sensors, which means that they can't capture as wide a range of tones and colors. This can result in images that look less vibrant and less detailed.
When it comes to mirrorless cameras with APS-C crop sensors, they are a great option for those who are looking for a smaller and more portable camera that is also more affordable than a full-frame mirrorless camera. They are also great for photography genres where a greater depth of field is needed. However, it's important to consider the trade-offs in terms of image quality and low-light performance before making a decision. As always, it's best to test out and compare different options to find the right camera that suits your needs and preferences.

The Evolution of Photography: From Film to Digital
Film Photography: Film photography was the first form of photography and was used from the late 1800s until the late 1990s. Film photography involved capturing an image on a light-sensitive film and then developing the film in a darkroom.
Digital Photography: Digital photography is the most current form of photography, it involves capturing an image using a digital camera or smartphone and then editing the image using a computer. Digital photography is more flexible and efficient than film photography, as it allows for instant review and editing of photos.
Advantages of Digital Photography: Digital photography has many advantages over film photography, such as the ability to see the image immediately after it is taken, the ability to edit the image in a computer and the ability to share the image on the internet.
Disadvantages of Digital Photography: Digital photography also has some disadvantages, suchas the need for regular software updates, the potential for camera obsolescence, and the lack of the tangible feel of a physical photograph. Additionally, digital cameras have a finite number of shots, while film cameras do not.